How to Screenshot on Dell Chromebook 3100
Welcome to the comprehensive guide on capturing screenshots effortlessly with your Dell Chromebook 3100. Whether you're a student, a professional, or a casual user, knowing how to take screenshots can be invaluable for sharing information and preserving moments. In this guide, we'll walk you through the simple steps to capture the entire screen or specific areas with ease.
To take a full-screen screenshot, press the "Ctrl" and "Show windows" keys simultaneously. The "Show windows" key, located on the top row of your keyboard, depicts a square or rectangle, representing multiple windows. Upon pressing these keys together, your Chromebook will efficiently save the screenshot to the Downloads folder, ready to be accessed and shared.
For more precise captures, use the combination of "Ctrl," "Shift," and "Show windows" keys. This action transforms your cursor into a crosshair, empowering you to select the exact region you wish to capture. Just click and drag the crosshair to frame your desired area, and upon releasing the mouse button, your Chromebook will instantly save the selected region as a screenshot.
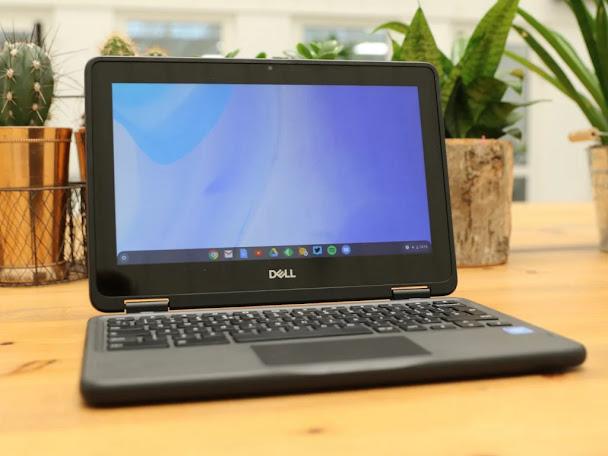
The Dell Chromebook 3100 is a powerful and versatile device designed for educational environments, boasting impressive specifications to support your learning needs. With its long battery life, rugged build, and intuitive interface, it's the perfect companion for capturing screenshots and tackling various tasks seamlessly.
Now, armed with this comprehensive guide and the remarkable Dell Chromebook 3100, you can effortlessly capture and share information, making your digital experience even more rewarding.
Rad Full Post: How to Screenshot on Dell Chromebook 3100 | A Comprehensive Guide and Specifications


Comments
Post a Comment